はじめに
SSHなどでログインすることなく、AWSマネジメントコンソールから
直接OS内の情報を参照・操作できるようなサービスが多くなってきました。
今回はそれらのサービスをサクッと体験してみる内容になります。
やってみよう
環境構築
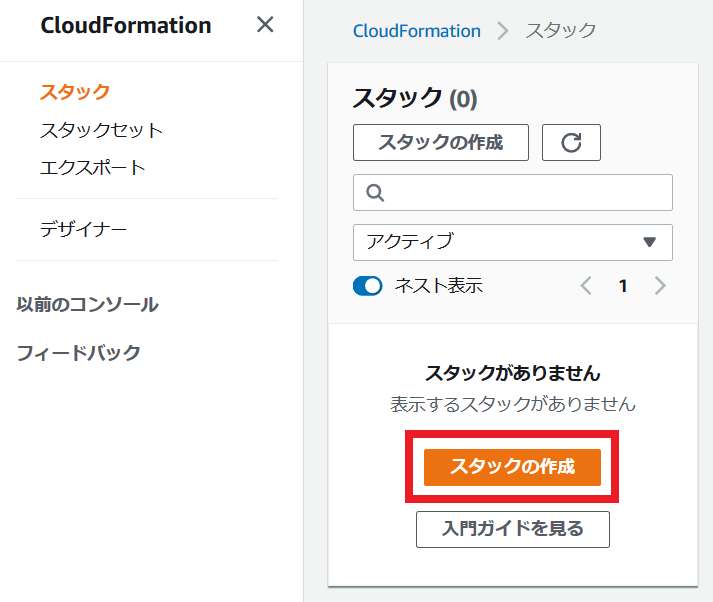
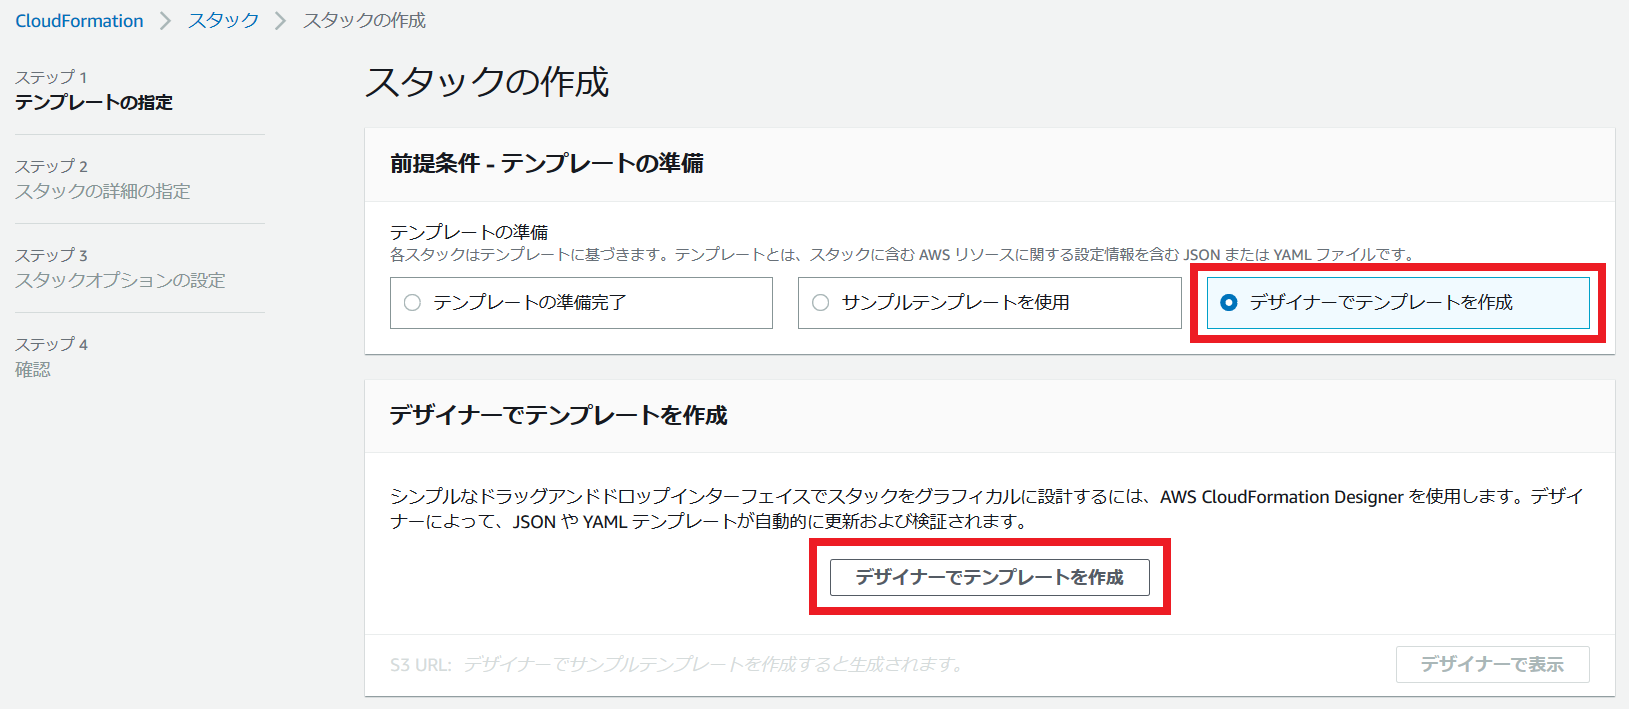
CloudFormationで環境を構築します。手順は下記の通りです。
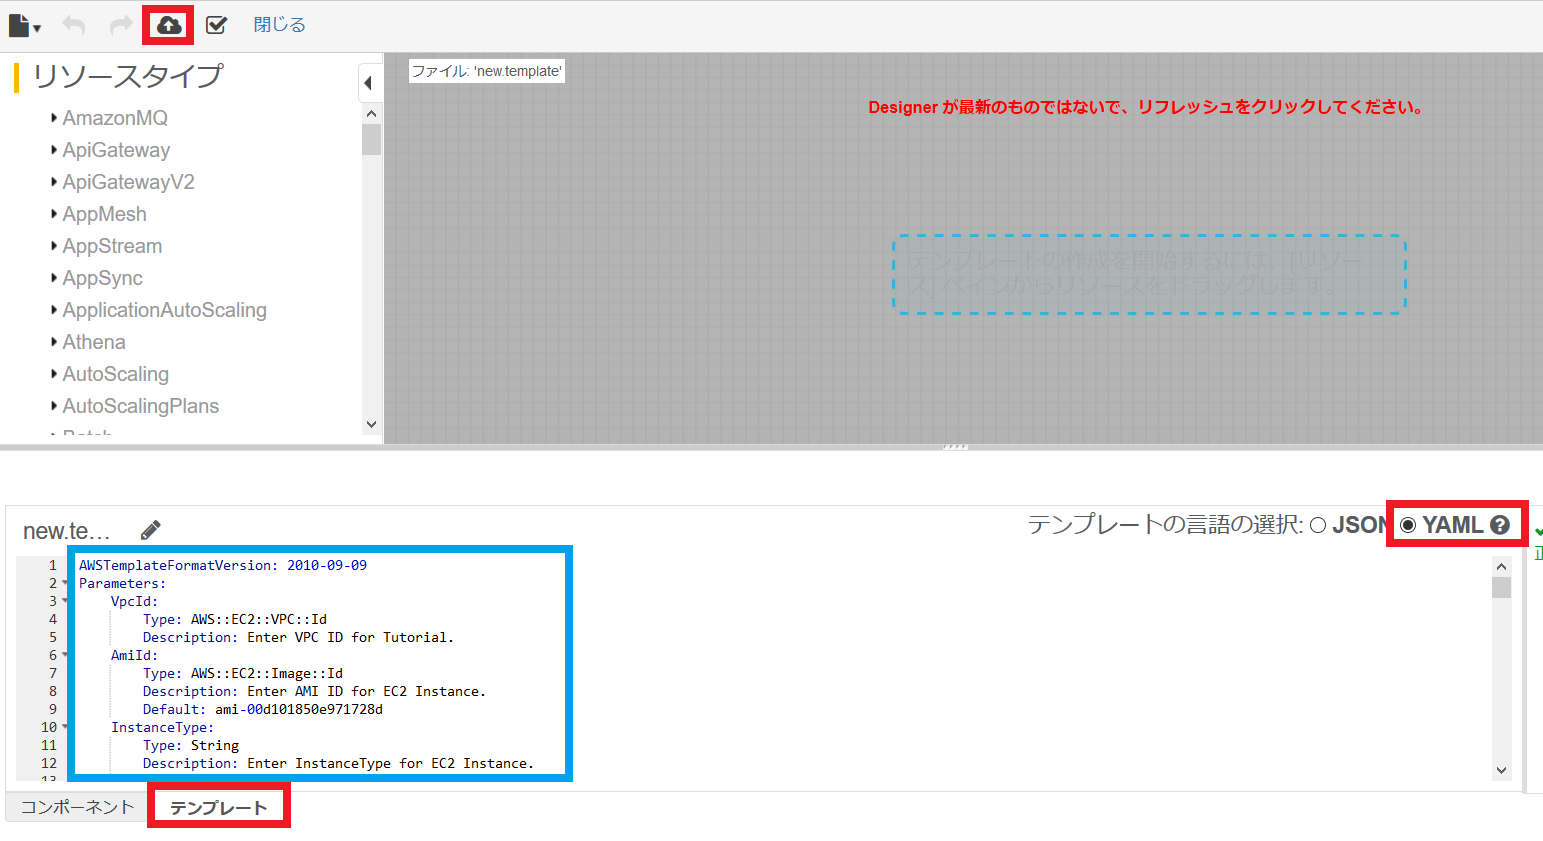
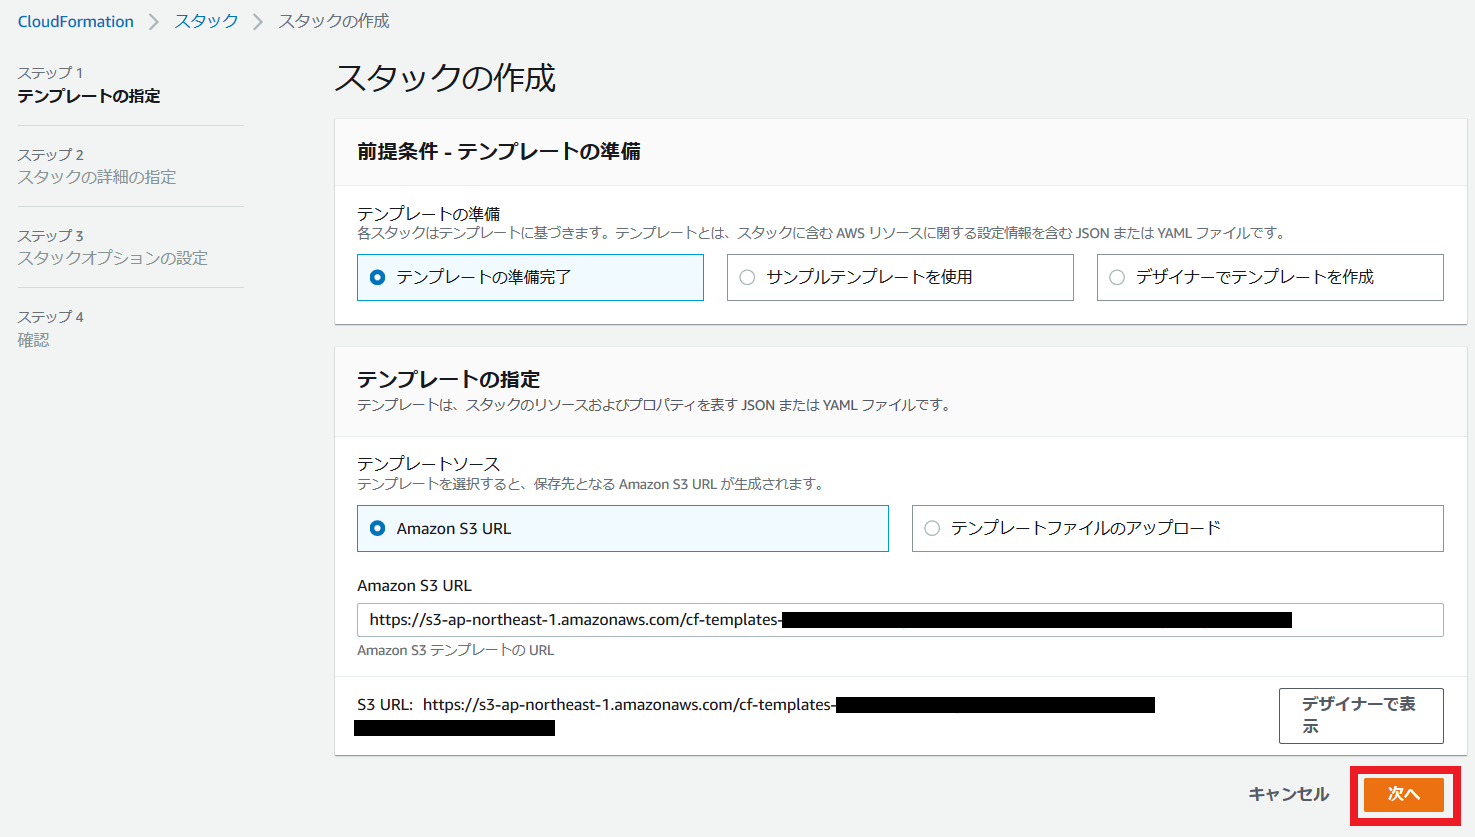
 [テンプレート]→[YAML]と選択して、YAMLを青枠の部分に貼り付け、雲のアイコンをクリックします。
|
1 2 3 4 5 6 7 8 9 10 11 12 13 14 15 16 17 18 19 20 21 22 23 24 25 26 27 28 29 30 31 32 33 34 35 36 37 38 39 40 41 42 43 44 45 46 47 48 49 50 51 52 53 54 55 56 57 58 59 60 61 62 63 64 65 66 67 68 69 70 71 72 73 74 75 76 77 78 79 80 81 82 83 84 85 86 87 88 89 |
# 貼り付け用YAML AWSTemplateFormatVersion: 2010-09-09 Parameters: VpcId: Type: AWS::EC2::VPC::Id Description: Enter VPC ID for Tutorial. AmiId: Type: AWS::EC2::Image::Id Description: Enter AMI ID for EC2 Instance. Default: ami-00d101850e971728d InstanceType: Type: String Description: Enter InstanceType for EC2 Instance. Default: t2.micro InstanceName: Type: String Description: Enter Value for Name Tag of EC2 Instance. Default: Amazon Linux 2 DBClusterName: Type: String Description: Enter Name for Aurora DB Cluster. Default: aurora-serverless DBUserName: Type: String Description: Enter DB User Name for Aurora DB Cluster. Default: root DBUserPassword: Type: String Description: Enter DB User Password for Aurora DB Cluster. Default: mypassword Resources: SecurityGroup: Type: AWS::EC2::SecurityGroup Properties: GroupDescription: SecurityGroup for EC2 Instances. SecurityGroupEgress: - IpProtocol: "-1" CidrIp: "0.0.0.0/0" VpcId: !Ref VpcId IAMRole: Type: AWS::IAM::Role Properties: AssumeRolePolicyDocument: Statement: - Effect: "Allow" Principal: Service: - "ec2.amazonaws.com" Action: - "sts:AssumeRole" ManagedPolicyArns: - arn:aws:iam::aws:policy/service-role/AmazonEC2RoleforSSM IAMInstanceProfile: Type: "AWS::IAM::InstanceProfile" Properties: Roles: - !Ref IAMRole DependsOn: [ IAMRole ] EC2Instance: Type: AWS::EC2::Instance Properties: IamInstanceProfile: !Ref IAMInstanceProfile ImageId: !Ref AmiId InstanceType: !Ref InstanceType SecurityGroupIds: - !Ref SecurityGroup Tags: - Key: "Name" Value: !Ref InstanceName DependsOn: [ SecurityGroup, IAMInstanceProfile ] Aurora: Type: "AWS::RDS::DBCluster" Properties: DBClusterIdentifier: !Ref DBClusterName DeletionProtection: false Engine: aurora EngineMode: serverless MasterUsername: !Ref DBUserName MasterUserPassword: !Ref DBUserPassword ScalingConfiguration: AutoPause: false MaxCapacity: 1 MinCapacity: 1 VpcSecurityGroupIds: - !Ref SecurityGroup DependsOn: [ SecurityGroup ] |
YAMLがS3に保存されるので[次へ]。
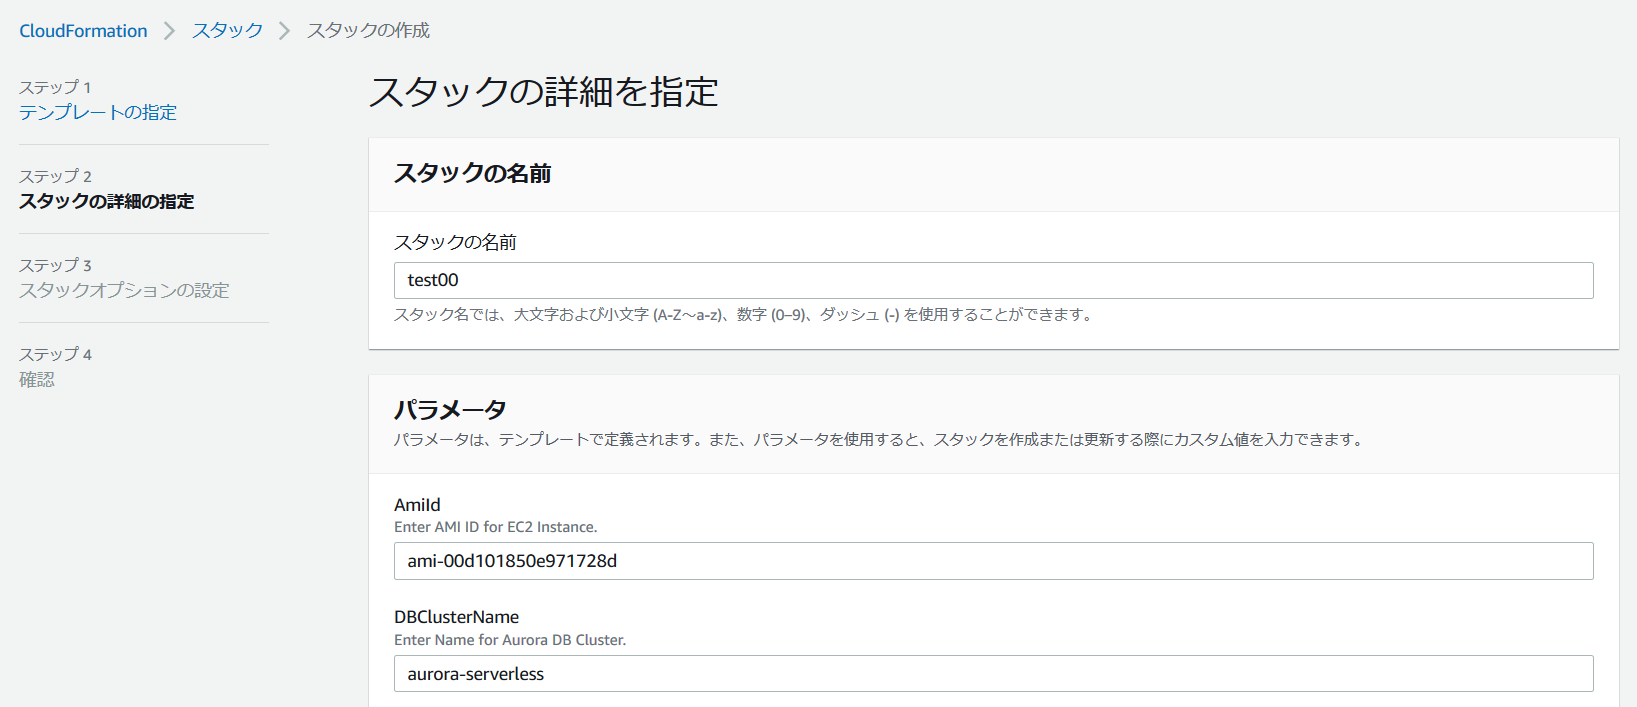
 [スタックの名前]は適当なものを入力してください。
[パラメータ]のうち入力が必須なのはVpcIdです。それ以外は必要に応じて変更ください。
AMI IDは執筆時点で最新のAmazon Linux 2がデフォルト値として設定されています。
当AMIが利用不可になった場合は新しいAMIのIDを入力してください。
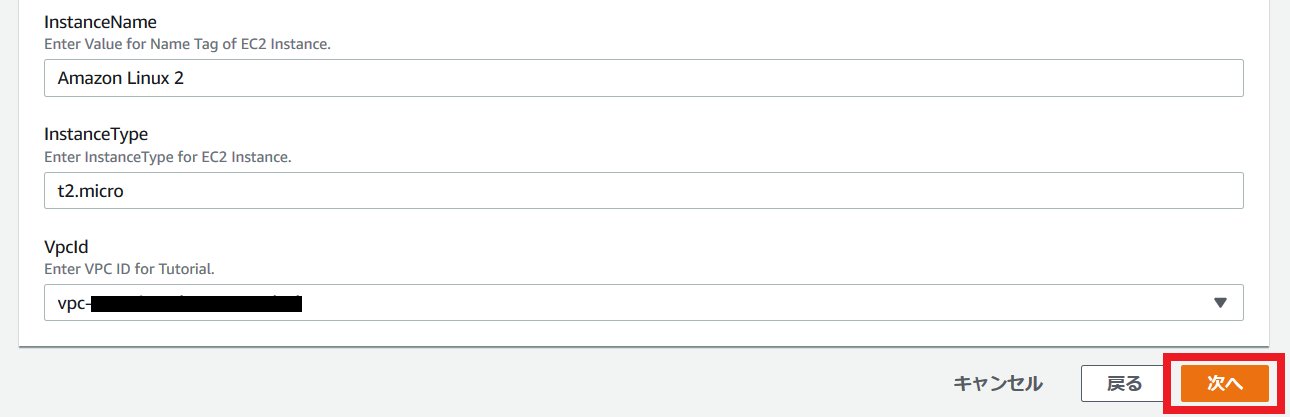
パラメータを入力し終えたら[次へ]。
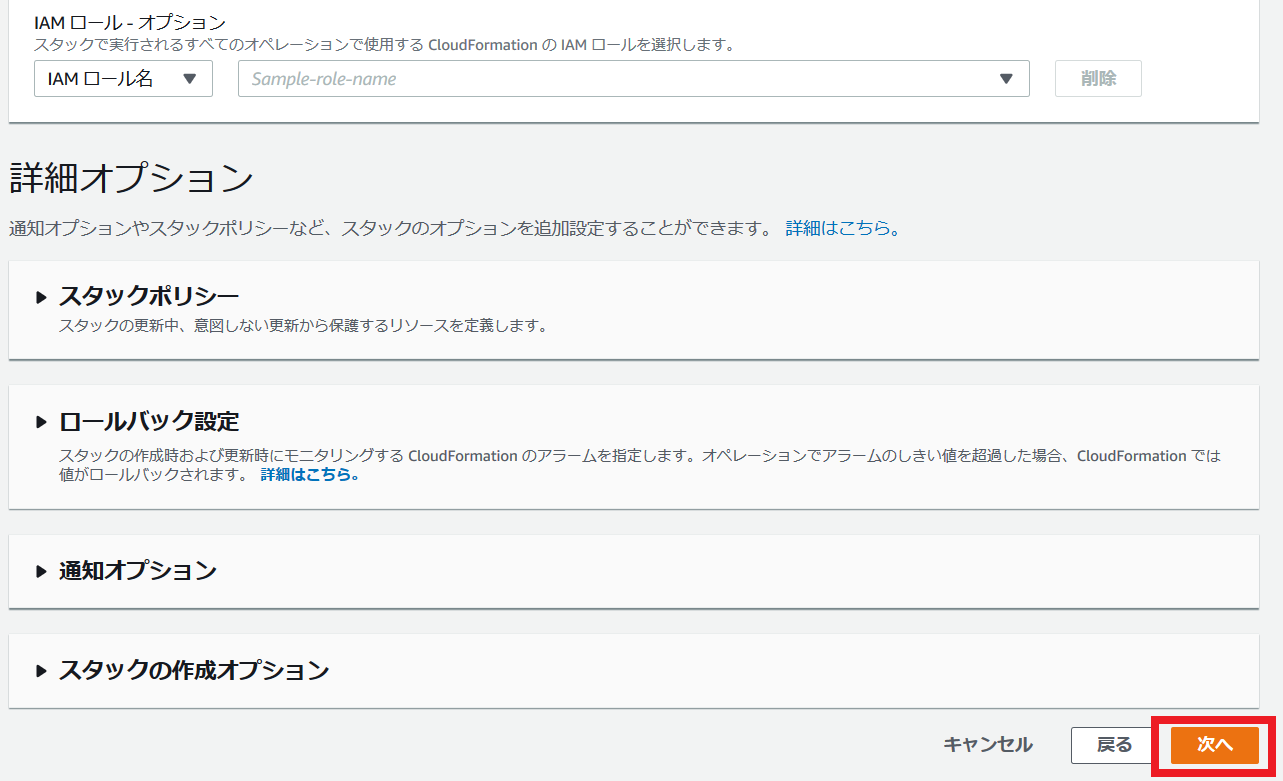
 [スタックオプションの設定]では特に何も設定せずに[次へ]。
最後に全体的な確認を求められるので、IAMリソースの承認にチェックを入れてスタックを作成します。
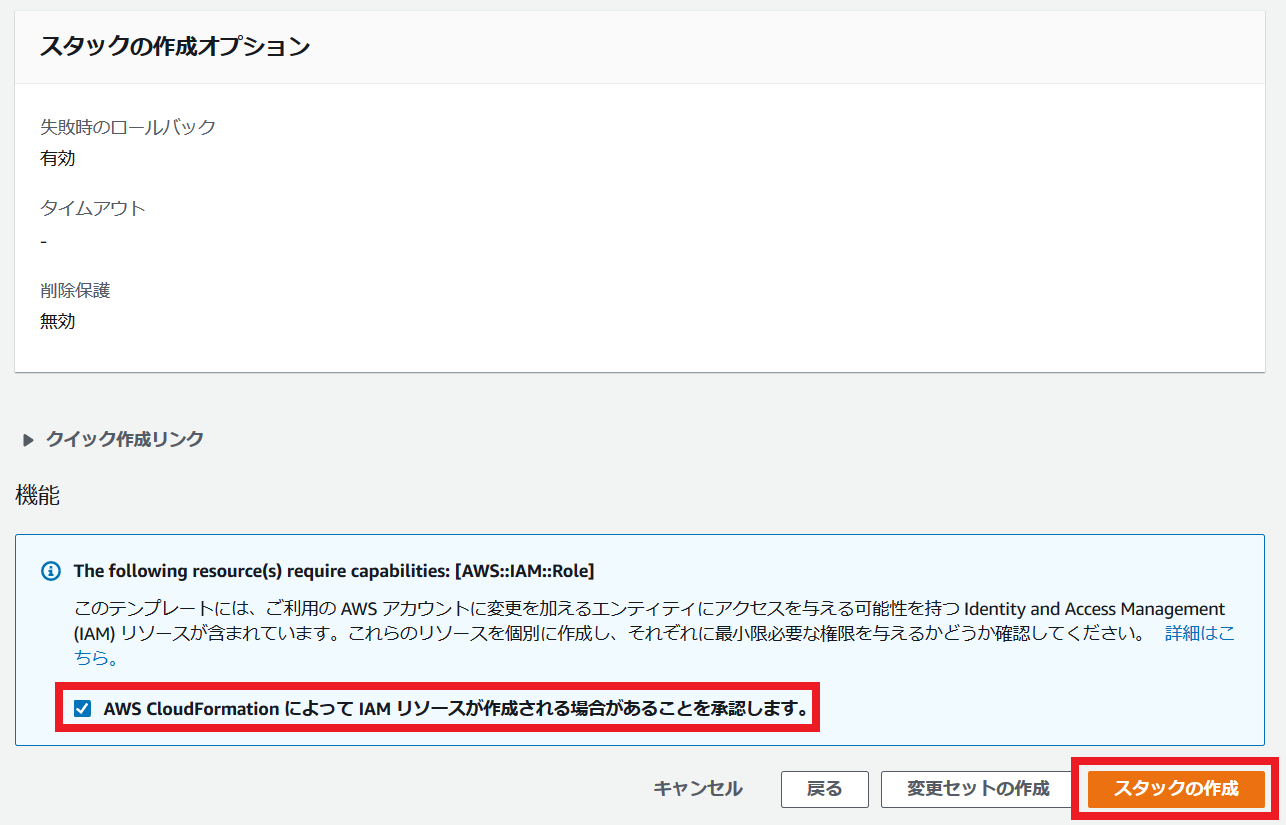
しばらくするとリソース(EC2インスタンス、Auroraクラスター)が作成されます。
コンソールからLinuxを触ってみる
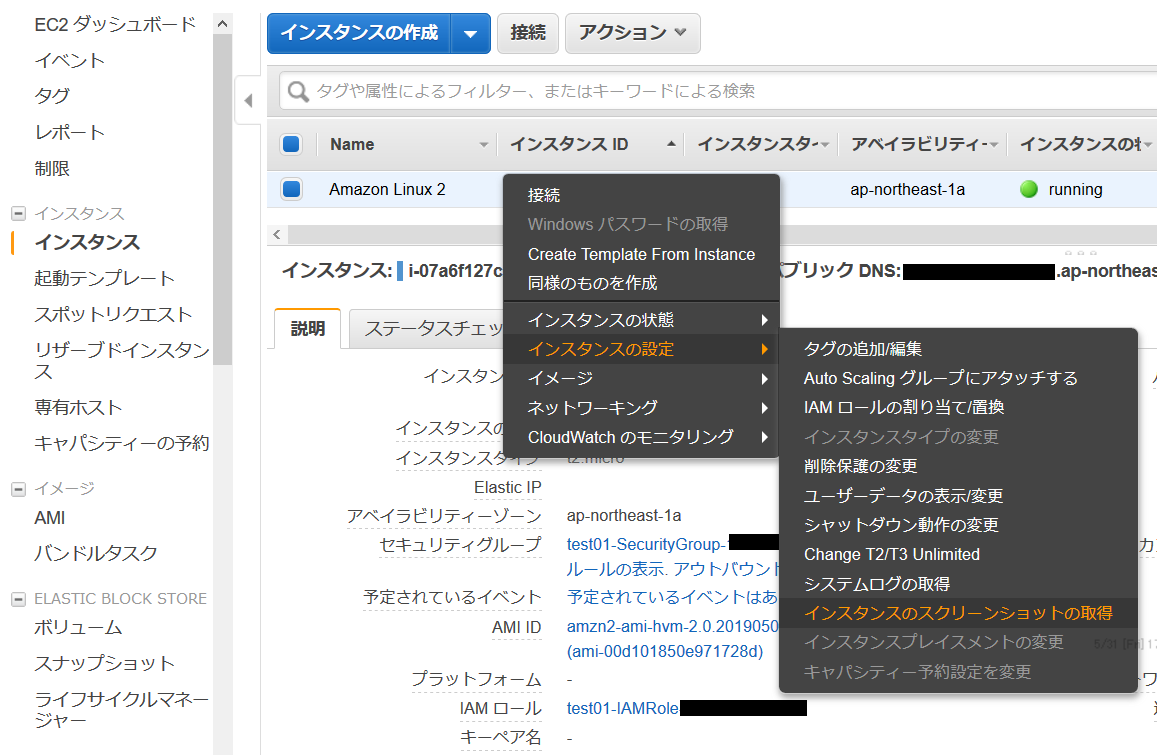
まずはコンソールからOSの画面を見てみましょう。
以下のように操作すると、その時点でのスクリーンショットが表示されます。(操作不可)
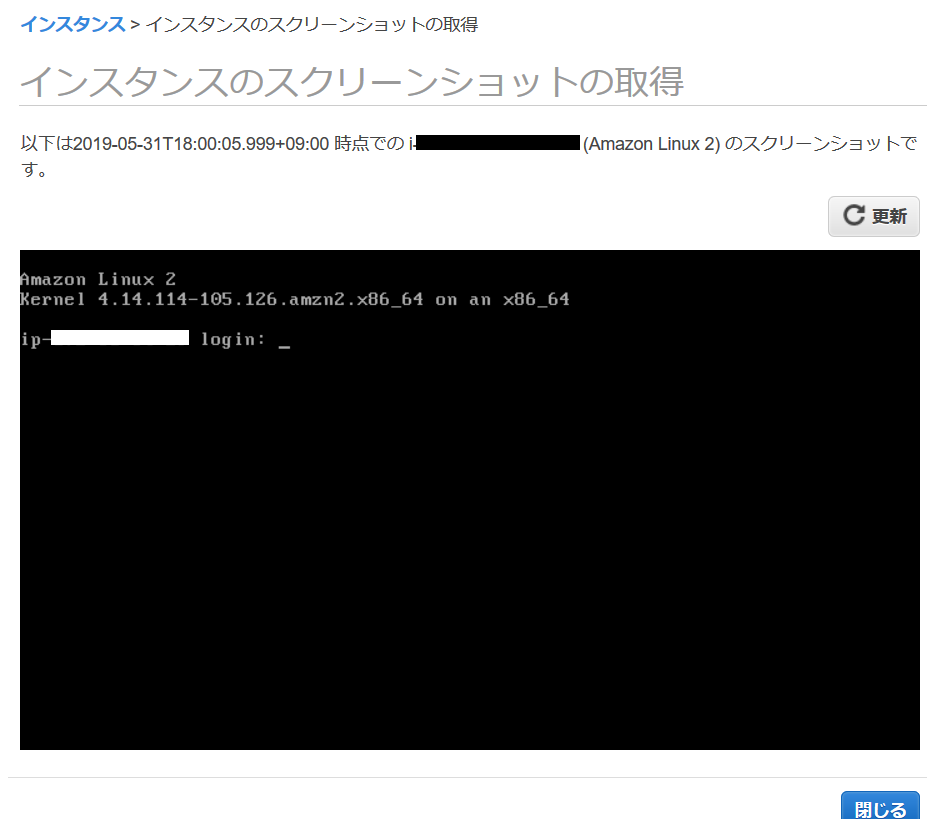
表示されるのは以下のような画面です。
今回はLinuxですが、WindowsであればWindows Updateの進行状況を見たい時に役立ちます。
次はコンソールからLinuxのコマンドを打ってみましょう。
Systems Managerの操作画面に移り[セッションマネージャー]を操作します。
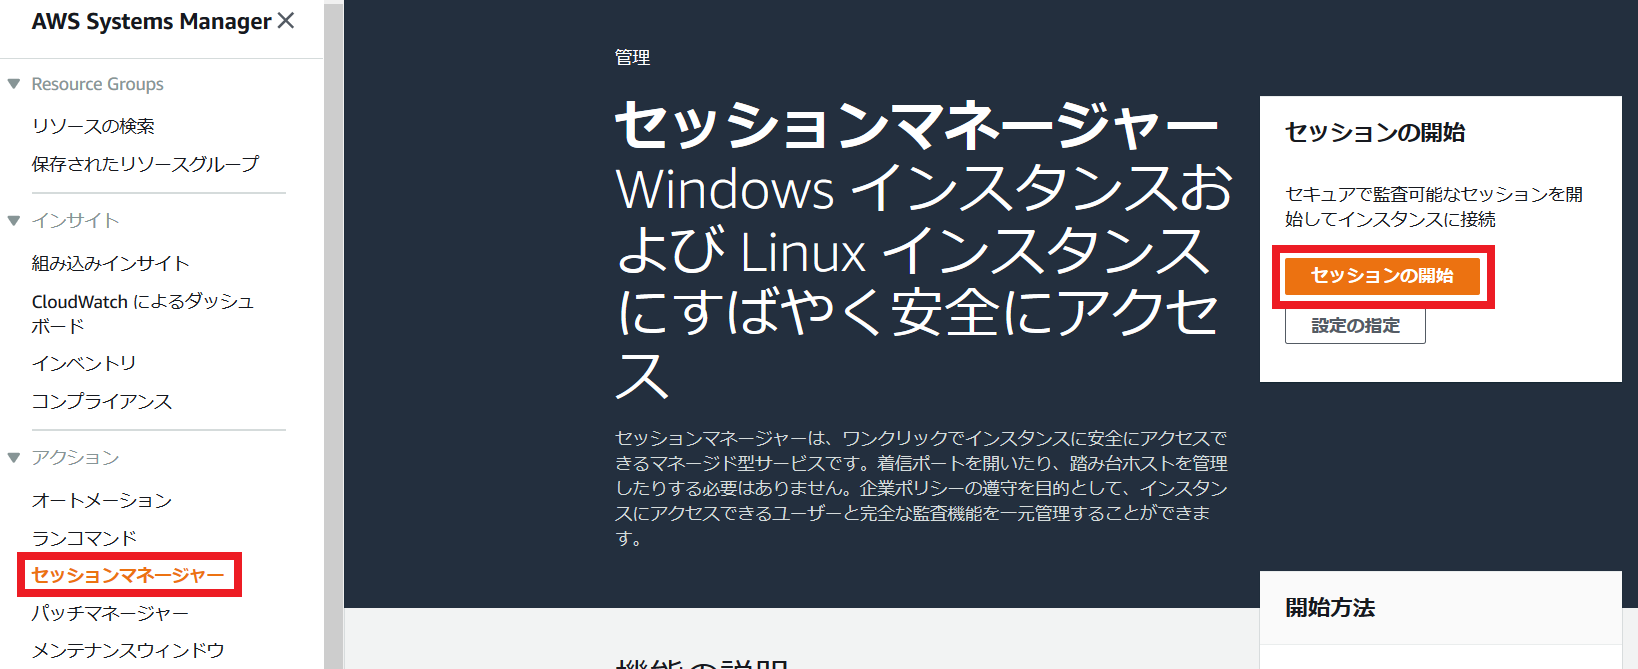
操作したいインスタンスを選択し、セッションを開始します。
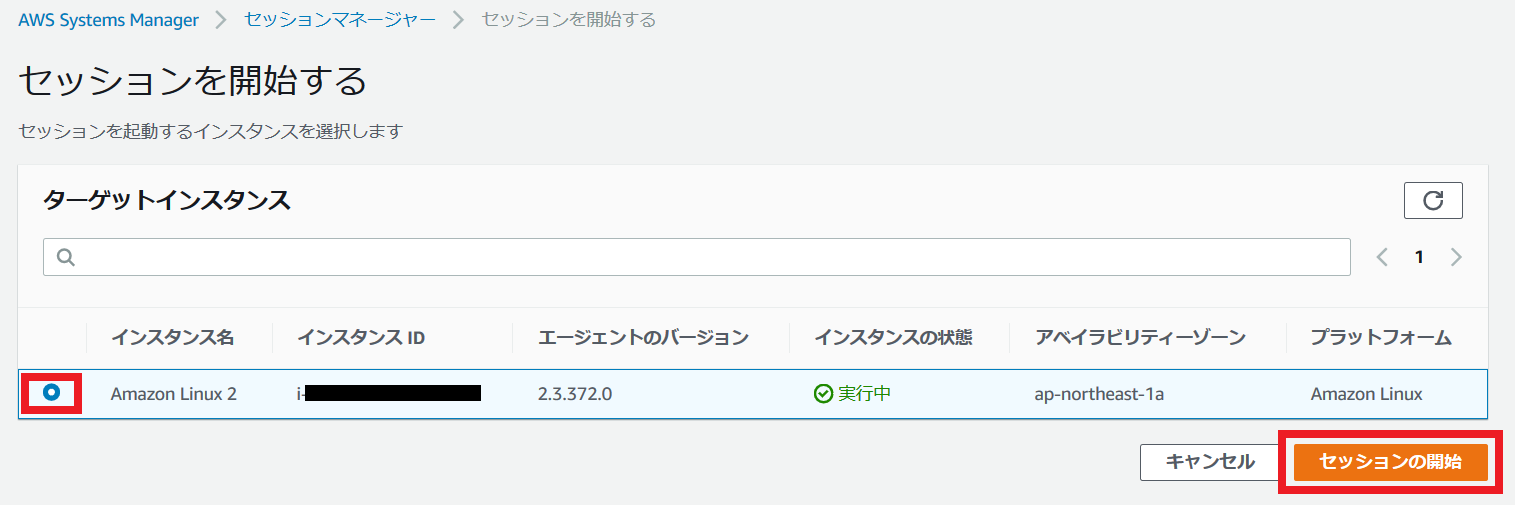
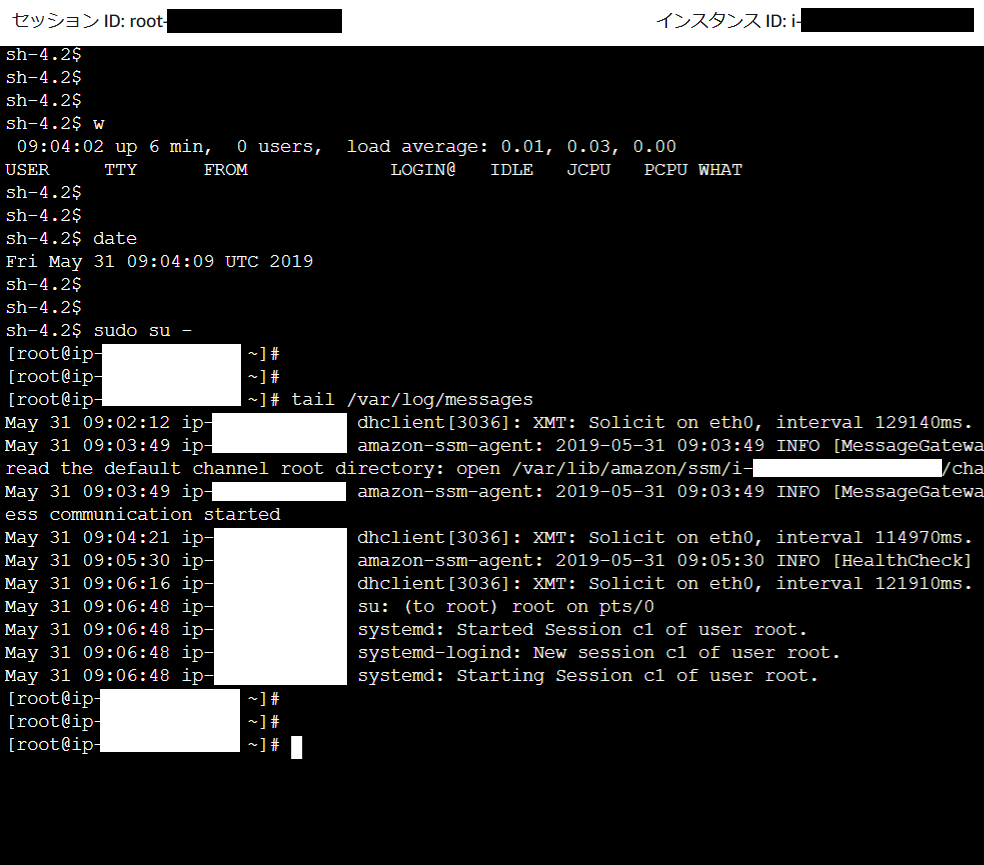
新しいタブが開き、ブラウザ上からLinuxのコマンドを打つことが出来ます。
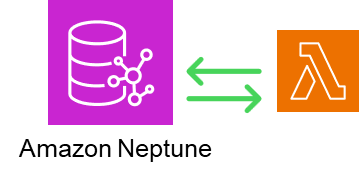
コンソールからMySQL(Amazon Aurora MySQL互換)を触ってみる
作成されたDBクラスターの設定を変更します。
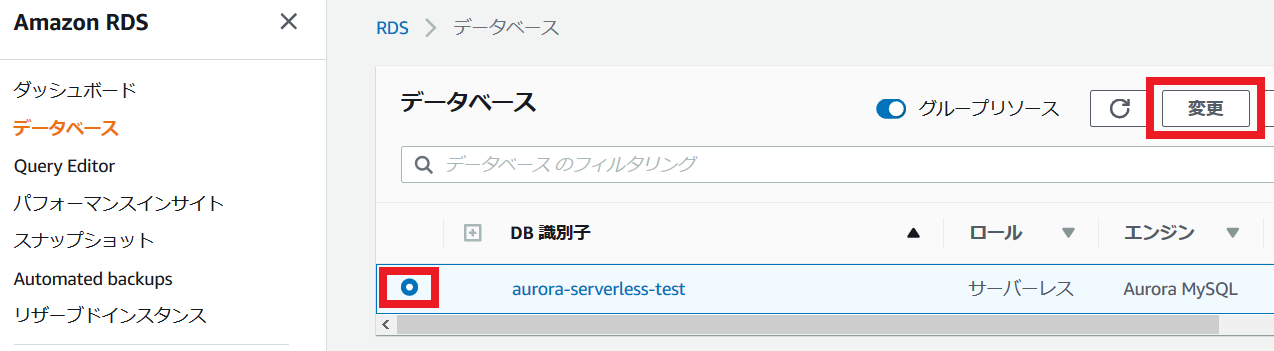
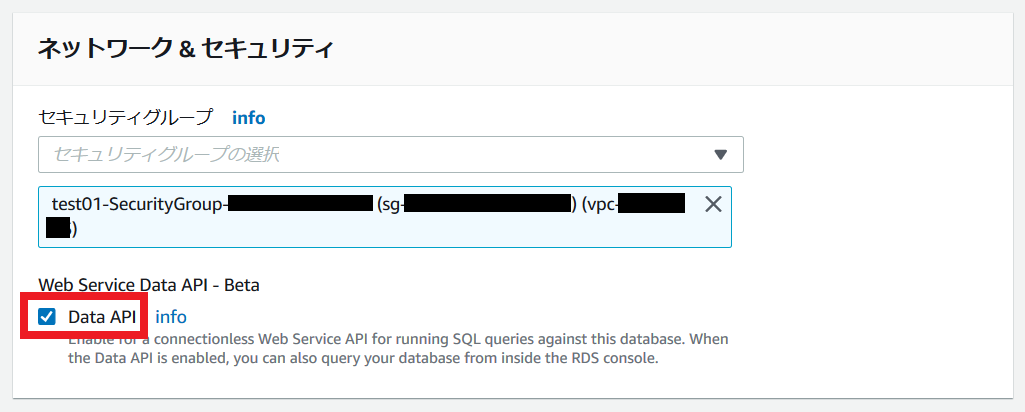
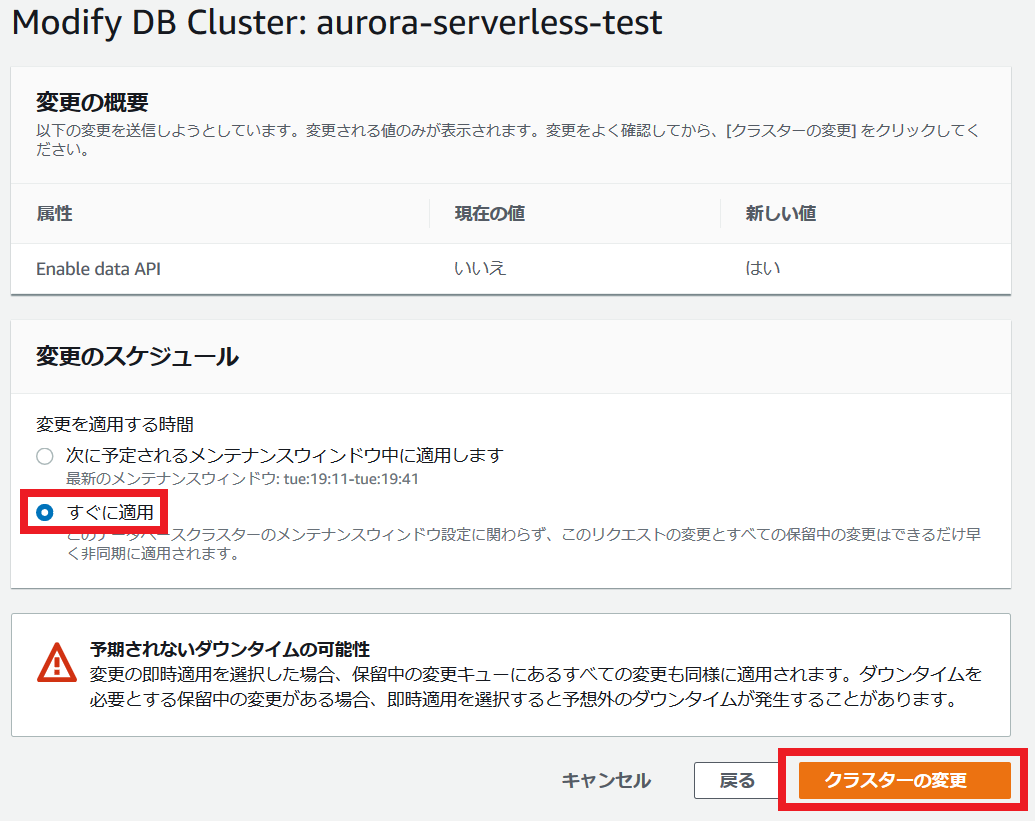
Data APIを有効化します。
※執筆時点でベータ版の機能の為か、CloudFormationで本設定を有効化することは出来ませんでした。
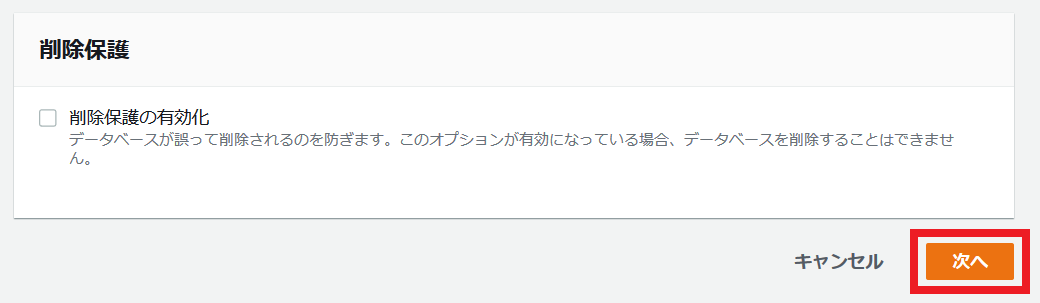
後は画面に従い設定変更を完了させます。
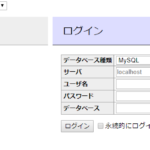
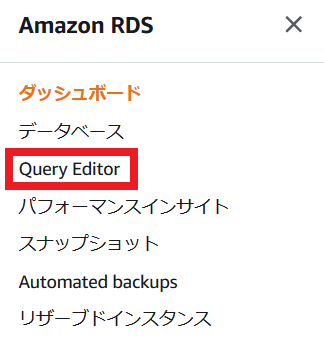
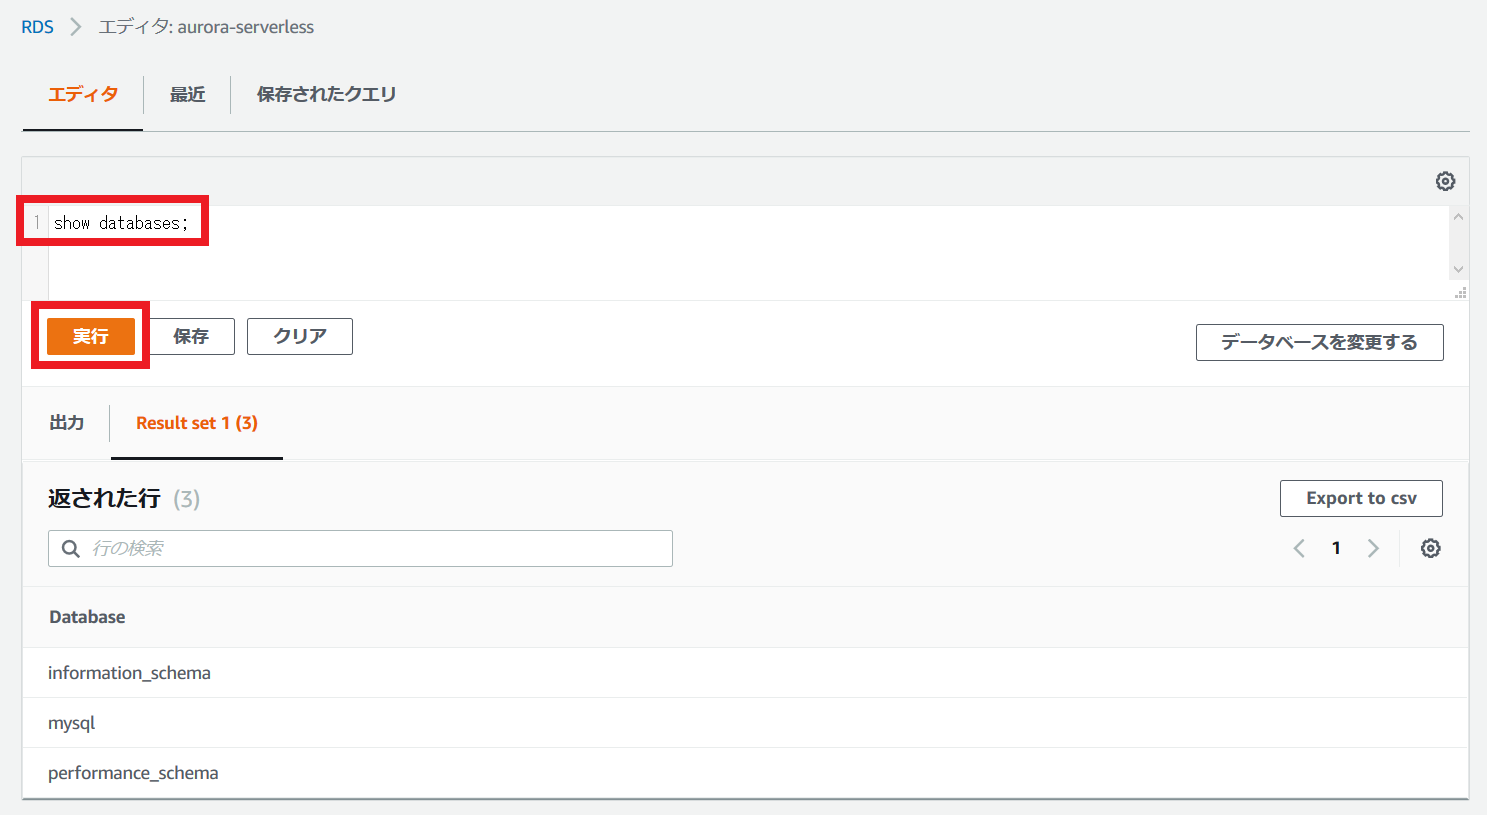
設定変更が完了したら、RDSの操作画面からQuery Editorを開きます。
MySQLへ接続する為の情報を求められるので、入力します。
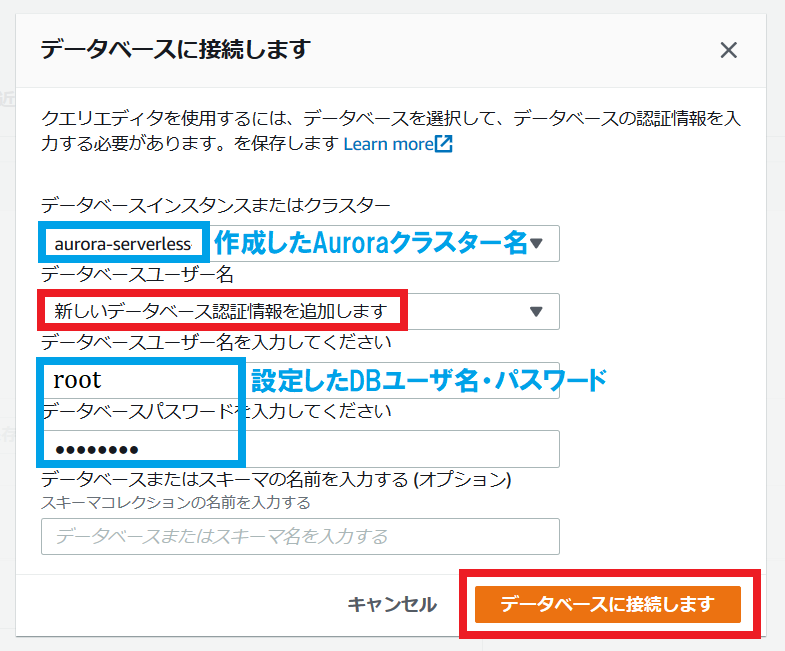
データベースへの接続が完了すると、マネジメントコンソールからクエリを発行できるようになります。
実際にクエリを入力してお試しください。
後片付け
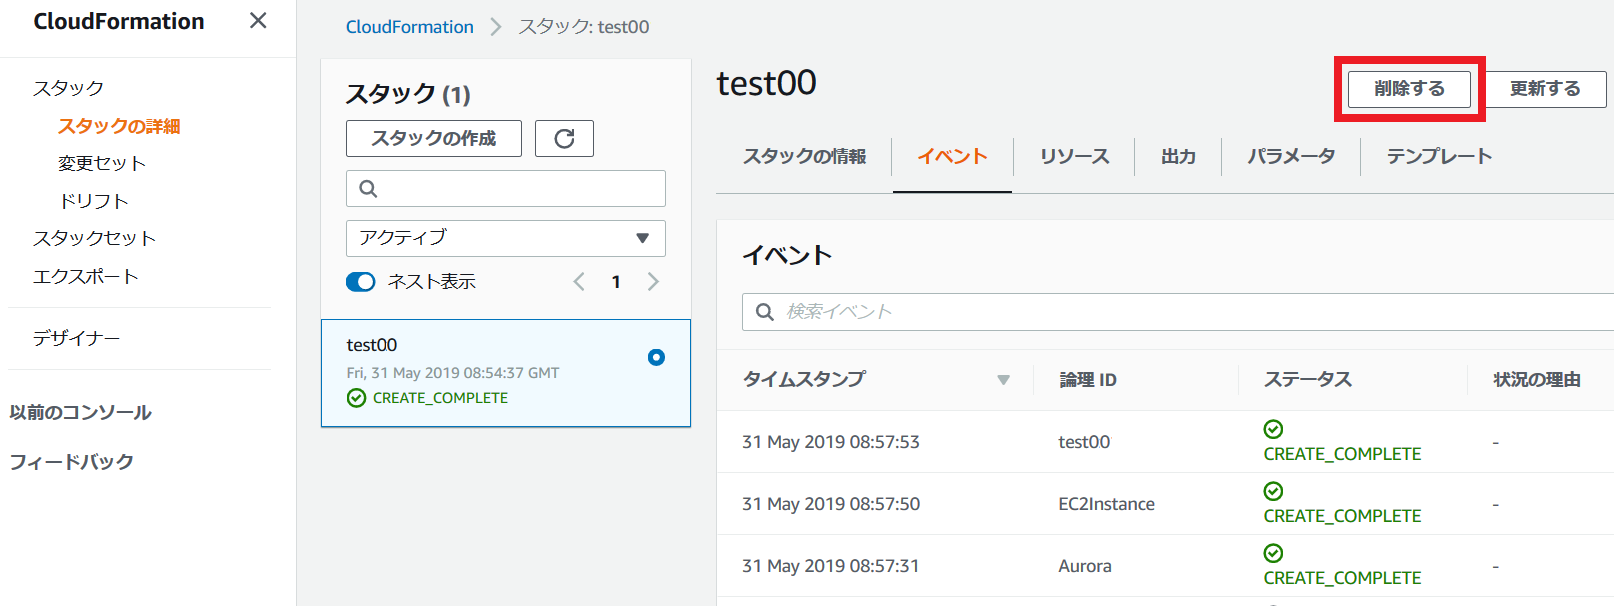
以上で検証は終わりです。
CloudFormationのスタックを削除し、EC2/Aurora等のリソースをクリーンアップしておきましょう。
投稿者プロフィール
- 2015年8月入社。弊社はインフラ屋ですが、アプリも作ってみたいです。