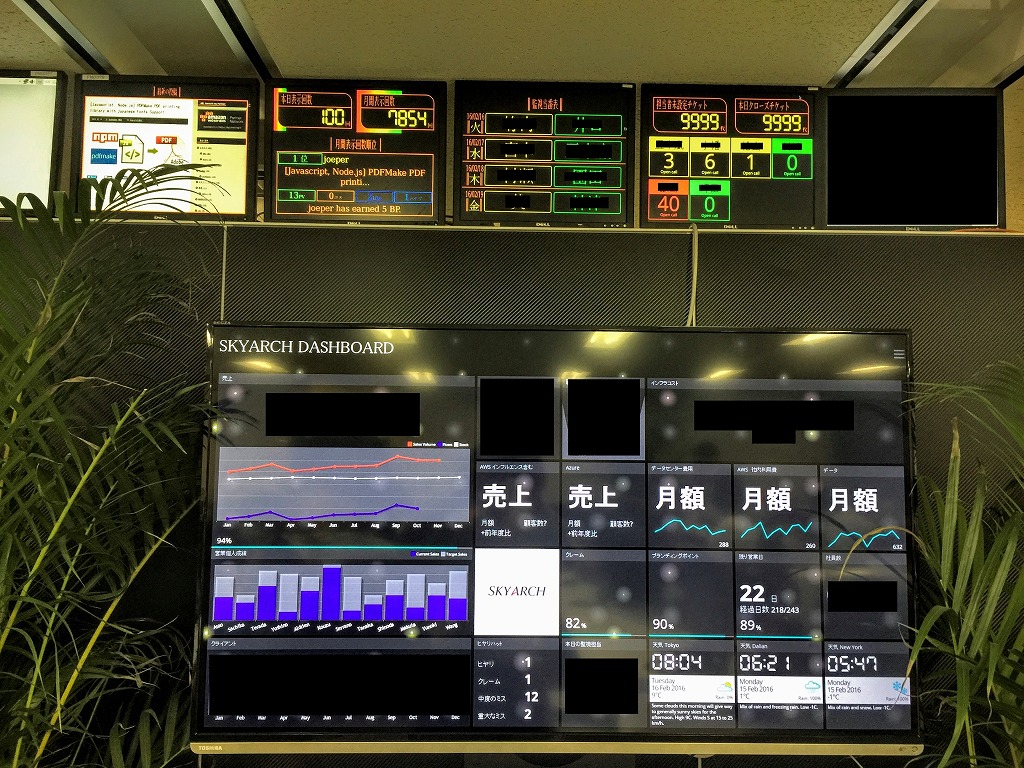
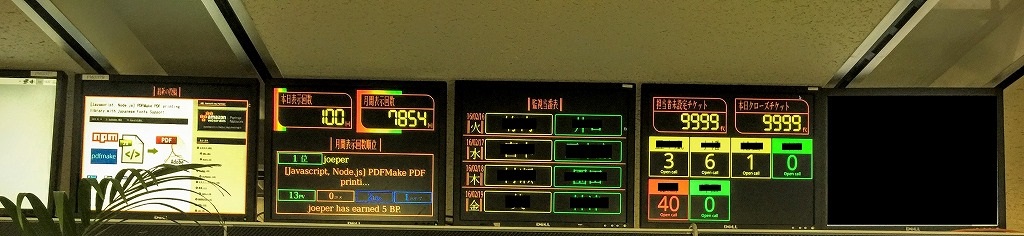
昨年度に色々揃えた物で少しづつ見せれる形になってきましたので途中経過の報告がてらチラ見せ Part1 です
今回はRaspberryPi2のデジタルサイネージ化について焦点を当てます。
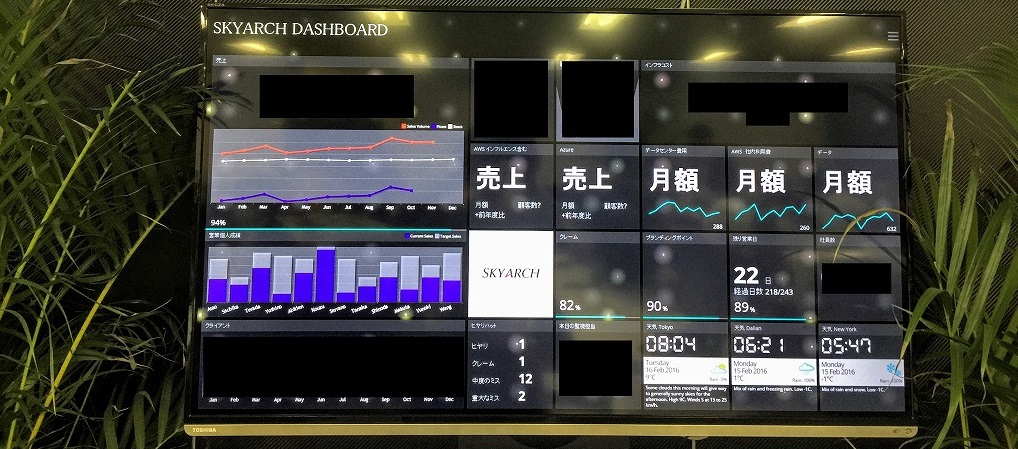
目的
KPI値や社内情報を高頻度に更新/表示し見える化する
利用した物
いずれも表示にはダッシュボード用フレームワーク Dashing を利用していますがこちらの紹介はまた別の機会に
- RaspberryPi2
- HDMI->VGA変換
- 19インチ液晶
- 大型TV
- StickPC
- USB接続型 学習リモコン
RaspberryPi2のサイネージ化設定
主な内容として下記を実施しています。
- Raspberry Pi2 の初期設定
- vncサーバのインストール (VNC接続でディスプレイに表示中のX Window操作を実施 いわゆる display 0)
- HDMI->VGA出力設定
- ディスプレイのスリープ/スリープ復帰をCronで動作するように設定
※RaspberryPi2の電源On/Offは実施しておりません - jQuery等が比較的まともに動作するブラウザをインストール
OS
Raspbian 最新版を利用する
初期設定
1 | $ sudo raspi-config |
- Expand Filesystemを実行しておく (df コマンドで結果確認)
- Change User Password (適切なパスワードに変更)
- Boot Options (B4を選択 Xを立ち上げpiユーザで勝手にログイン)
- Internationalisation Options
I1 ChangeLocaleで ja_JP.UTF-8 UTF-8 を有効に + DefaultLocaleを変更
I2 ChangeTimezoneでAsia/Tokyoを選択 - Advanced Options
A4 SSHを起動時On にする
再起動を実施
必要なパッケージのインストール
結構時間が掛かる
1 | $ sudo apt-get install vim x11vnc |
IPアドレス設定
1 2 | $ sudo cp interfaces interfaces.org$ sudo vi interfaces |
1 2 3 4 5 6 7 8 9 | auto loiface lo inet loopbackauto eth0iface eth0 inet staticaddress xx.xx.xx.xxnetmask yy.yy.yy.yygateway zz.zz.zz.zzdns-nameservers a.a.a.a b.b.b.b |
vncサーバインストール・設定
1 | $ x11vnc -storepasswd |
Desktopへのアクセスパスワードを設定する。
自動起動設定は ~/.config/autostart/x11vnc/x11vnc.desktop ファイルを以下のように設定する。
※ディレクトリが無い場合は作る
1 2 3 4 5 6 7 8 9 10 11 | $ mkdir -p ~/.config/autostart/$ vi ~/.config/autostart/x11vnc.desktop[Desktop Entry]Encoding=UTF-8Type=ApplicationName=X11VNCComment=Exec=x11vnc -forever -display :0 -rfbauth /home/pi/.vnc/passwdStartupNotify=falseTerminal=falseHidden=false |
HDMI to VGAデバイス設定
HDMI->VGA変換アダプタを利用している場合設定が必要
/boot/config.txt を編集
1 2 3 4 5 6 7 8 9 10 11 12 13 14 15 16 17 18 19 20 21 22 23 24 25 26 27 28 29 30 31 32 33 34 35 36 37 38 39 40 41 | # uncomment if you get no picture on HDMI for a default "safe" mode#hdmi_safe=1# uncomment this if your display has a black border of unused pixels visible# and your display can output without overscandisable_overscan=1# uncomment the following to adjust overscan. Use positive numbers if console# goes off screen, and negative if there is too much border#overscan_left=16#overscan_right=16#overscan_top=16#overscan_bottom=16# uncomment to force a console size. By default it will be display's size minus# overscan.#framebuffer_width=1024#framebuffer_height=768# uncomment if hdmi display is not detected and composite is being outputhdmi_ignore_edid=0xa5000080hdmi_force_hotplug=1# uncomment to force a specific HDMI mode (this will force VGA)hdmi_group=2hdmi_mode=16 #<-- 1024x768#hdmi_mode=35 #<-- 1280x1024# uncomment to force a HDMI mode rather than DVI. This can make audio work in# DMT (computer monitor) modeshdmi_drive=2# uncomment to increase signal to HDMI, if you have interference, blanking, or# no displayconfig_hdmi_boost=4# uncomment for composite PAL#sdtv_mode=2#uncomment to overclock the arm. 700 MHz is the default.#arm_freq=800 |
X Windowスリープ防止
.xinitrcの用意
1 2 3 4 5 | vi ~/.xinitrc xset s off xset -dpms xset s nonblank |
lightdm.confの編集
1 | $ vi /etc/lightdm/lightdm.conf |
下記を変更しlightdmを再起動します。
xserver-command=X
↓
xserver-command=X -s 0 -dpms
1 | $ sudo /etc/init.d/lightdm restart |
screensaver.desktopの作成
1 | $ vi ~/.config/autostart/screensaver.desktop |
1 2 3 | [Desktop Entry]Type=ApplicationExec=/home/pi/.xinitrc |
書き込んだあとはxの再起動が必要です。
ディスプレイOff/Onスクリプトの設置
1 | $ sudo vi /usr/local/sbin/raspi-monitor |
1 2 3 4 5 6 7 8 9 10 11 12 13 14 15 16 17 18 19 20 21 22 23 24 25 26 27 28 29 30 31 32 33 34 35 36 37 38 39 40 41 | #!/bin/bash -e# /usr/local/sbin/raspi-monitor# Script to enable and disable the HDMI signal of the Raspberry PICMD="$1"function on { /usr/bin/tvservice --preferred # Hack to enable virtual terminal nr 7 again: chvt 6 chvt 7}function off { /usr/bin/tvservice --off}function must_be_root { if [ $USER != root ]; then echo "ERROR: Script must be executed as the root user" exit 1 fi}function main { must_be_root if [ "$CMD" == "on" ]; then on elif [ "$CMD" == "off" ]; then off else echo "Usage: $0 <on|off>" exit 1 fi exit 0}main |
実行権の付与を忘れずに
1 | $ sudo chmod +x /usr/local/sbin/raspi-monitor |
cronでスリープ制御
cronに下記を登録
1 | $ sudo vi /etc/crontab |
1 2 3 4 5 | # 9AM On0 9 # # # root /usr/local/sbin/raspi-monitor on >/dev/null 2>&1# 7PM Off0 19 # # # root /usr/local/sbin/raspi-monitor off >/dev/null 2>&1 |
Xおよびターミナル上で日本語表示/入力を有効にする
1 2 3 4 5 | $ sudo apt-get install ttf-kochi-gothic xfonts-intl-japanese xfonts-intl-japanese-big$ sudo apt-get install uim uim-anthy$ sudo apt-get install jfbterm$ jfbterm // 画面が一瞬乱れますが再起動します$ sudo reboot |
ラズパイにFirefox(Iceweasel)インストール
1 2 | $ sudo apt-get update$ sudo apt-get install iceweasel |
明朝体フォントを入れる場合は以下を実行する
1 | $ sudo apt-get install ttf-kochi-mincho |